
I’m calling this exercise 1.2.1 because there is going to be at least one more.
This exercise builds on appropriation and collage, introducing the notion of the glitch and informed by, for example, Gordon Cheung. I was more than pleased to see that I could use primarily digital methods in the making of the images.
I used three random screengrabs; one of a zoom meeting about book cover design run by the Edinburgh book festival last year, the second of a spider’s web across the live stream webcam at Porthcawl pier, and the third of a google search for ‘obliteration’ in art (a term that came up on the next page in the course materials) which gave me Yayoi Kusama’s ‘Obliteration room‘, amongst others.
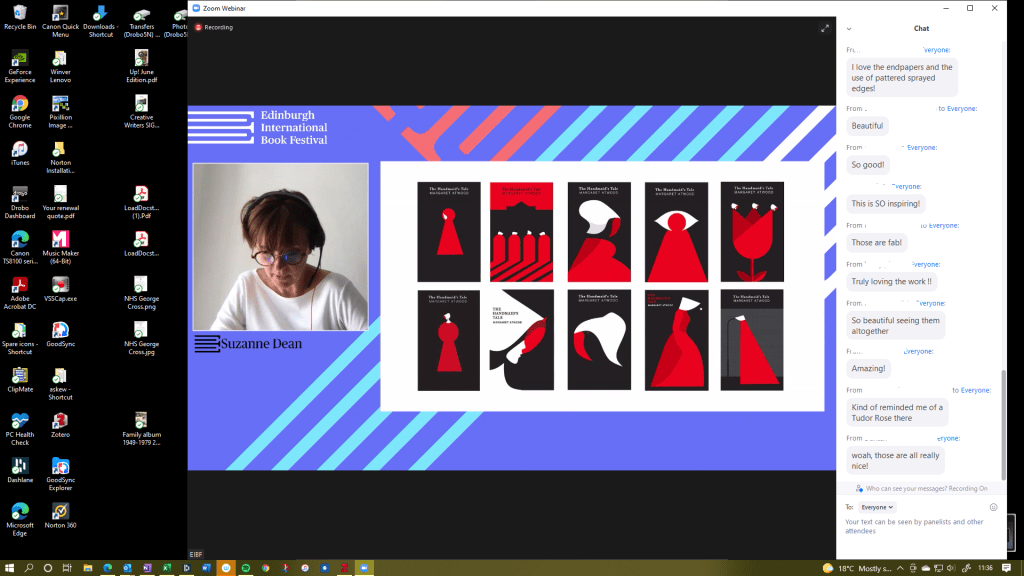


I imported these into Rebelle5, a digital painting app which quite closely replicates the way fluids behave on different surfaces. This is a newly version with new bells and whistles so ideal timing. It’s also the first time I’ve used imported material and manipulated them in layers and this was quite a steep learning curve. The idea was to place them experimentally – as in ‘getting the hang of the app’ – then watch what happened when I applied paint and water. This is the first video screen capture of the process. I redacted names from the chat stream on the right. Lots of fiddling around!
This is a second video capture where I’d (re)discovered the blending tools two thirds of the way down on the right but not discovered how to apply that to different layers. It produces some very dramatic effects, and also some rather bland ones.
This third video capture shows all three primary screen capture stills with different blending filters but no opacity adjustments. The image can be tilted within the app to change the direction of flow of any wet medium; the flow can be stopped at any time using the drying tool; and while layers are active across the platform, medium operates outside the imported image but doesn’t interact with it – i.e. it can be erased without erasing the layers beneath it.
All images made in this way can (should, to preserve layers) be saved in native format (.reb in this case) and also any number of merged formats such as bmp, jpg, tiff, png and so forth. In the Pro version of this software, the designers/builders claim nano pixels enable ’16x larger image export capability’ which means better printing at scale and on-screen zooming to detail. I am wrestling with the idea of the Pro version but may throw in the towel quite soon because I’m a pushover!
Meanwhile, I have video-glitched two earlier versions of this composition using MotionLeap by Lightricks. One is livened up using an in-app audio track which is sometimes mysteriously stripped out by Google and Instagram.
This first shows all the still images layered one on top of the other at different degrees of opacity. The moving parts are via MotionLeap by Lightricks.
This version uses a later version in the Rebelle process which seems to have lost two of the layers on the way.
I am tinkering with the idea of modify both of these in Filmora Pro as I’m on a mission to get to grips with that product and its much more expansive – than Filmora 10 – repertoire of tools.
