
Time was, you could take a radiator off a wall and someone would come to fill the holes then slap an approximate match of the 30 year old paint onto the gap. But when you’ve spent the best part of four years up to the elbows in every possible kind of media, you’re probably not going to go down that road this time, are you?
I have quick drying cement; I have some stuff I bought to smooth out the old artex and never got round to using; I soon had white paint; and I had a growing fantasy about what could go in that space.
Once upon a time, I’d stencilled some flowers up the side of the door frame in the space between that and a painting, but suddenly they had had their day. Artist me told decorator me that we’d got this; we could paint on a wall in acrylics and gloss, with brushes, sponges, and flannels just as we did on the 30″x40″ canvases we’ve got used to. And anyway, we had a can of white and a can of yellow to cover it all up again if need be. So artist me won out and off we went.
How it was. Grim, innit?
But short of redecorating the whole place – and being still in recovery after the plumbers had eviscerated the place of all the boiler, the tank, and all its old radiators, (one cat is still yelling at four in the morning; nightmares probably!) – I decided to give that a miss and use all my new found skill to smooth out the lumps and bumps and create a brand new vista before the new incumbent takes its place on the wall.

The painting, my sister’s from her degree show, and the stencilled vine suggested foliage but quite how we got from that gentle thing to this, I’ll never know. I blame OCA.

Admittedly, it looked less like a vampire wizard’s victim disposal garden in daylight, but still.
Nifty brushwork and scratchy flannel action though, right?
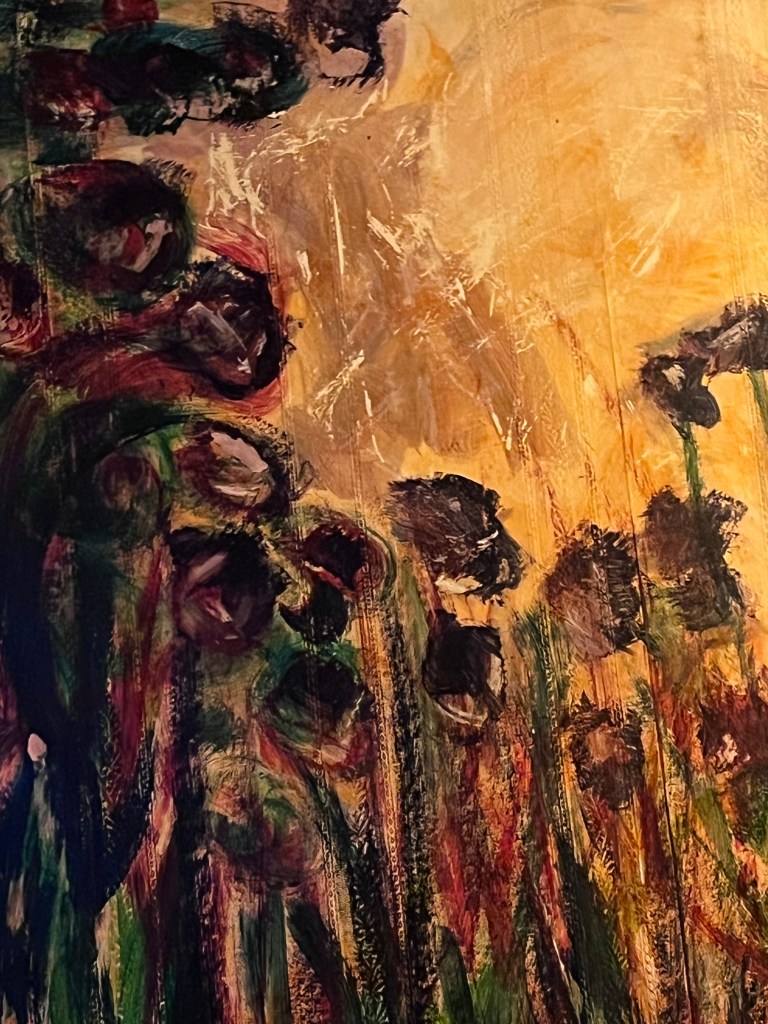
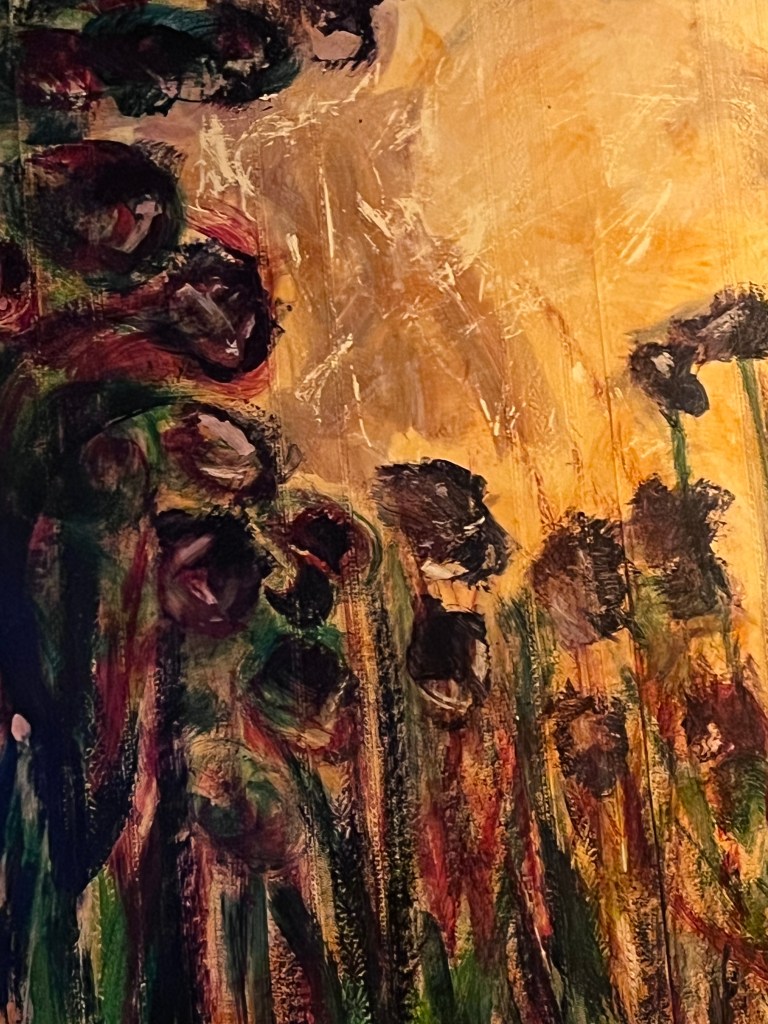
The way to neuter dark umber/red/green is to ladle pink all over it then scrub to let some of those earlier layers come through. Unfortunately, it was the hottest day of the year so far and the paint curled its toes up and dried within minutes. Minimal scratchy flannelling possible.

Still, I’ve learned a lot in the last few years on this course, and editing is one thing I’ve become pretty good at. So …
Here’s a layer of white primer, positioned so that whatever goes on top of it will be almost transparent.

And here it is with some dilute burnt sienna which I’ve let run down under its own steam. This photo pulls out some 3D effects from the underlying layers which I plan to maximise after I’ve seen how this behaves under lamp light. It also spotlights the shamefully unaddressed teeth and claw marks from a succession of puppies now long gone after living well into old age. Shame drove me to, finally, slap some paint on that whole corner, although just up to its elbows, we’re not going mad here.


14th July and I’m on a roll. Might hit a ditch, might not.
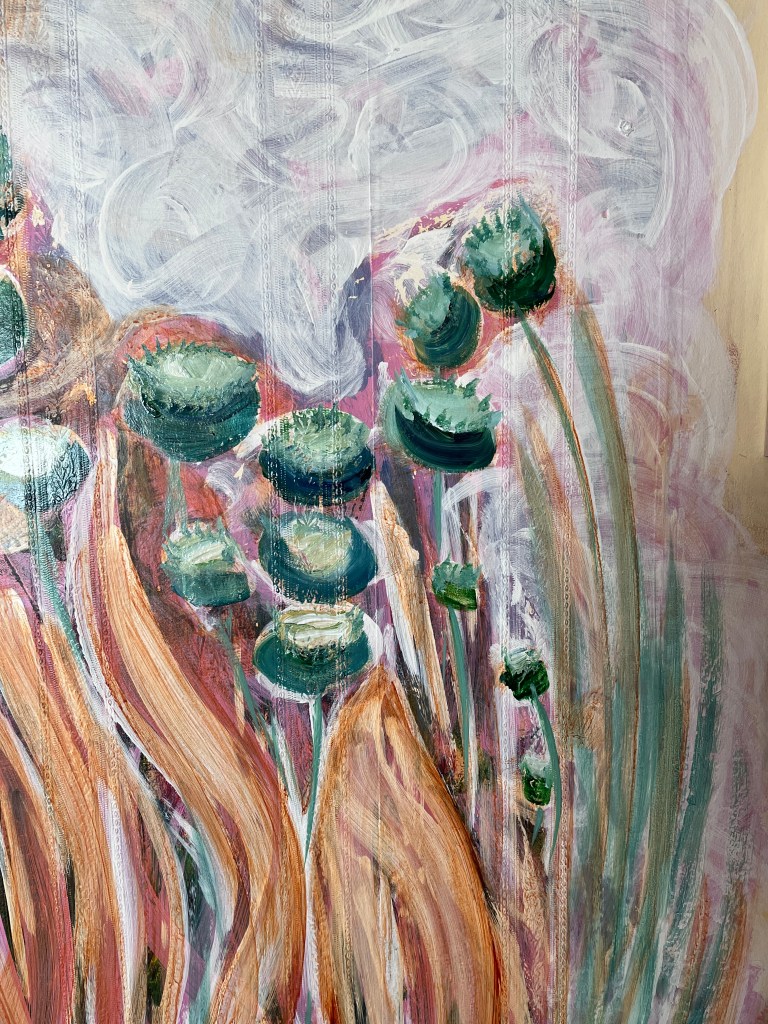
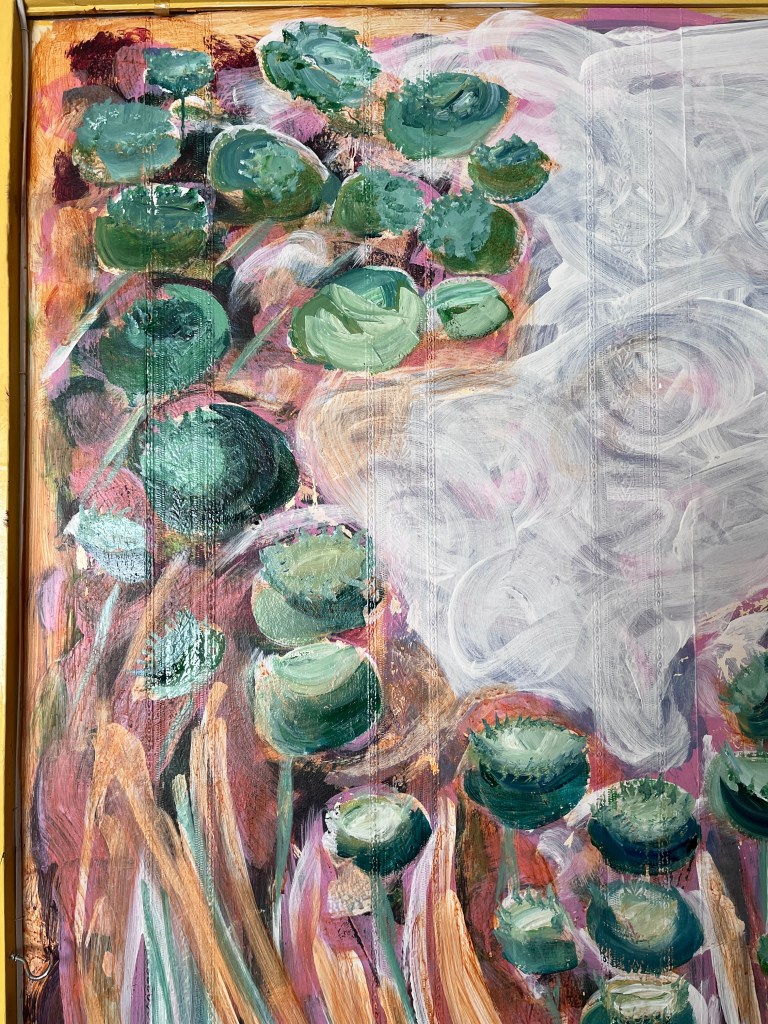
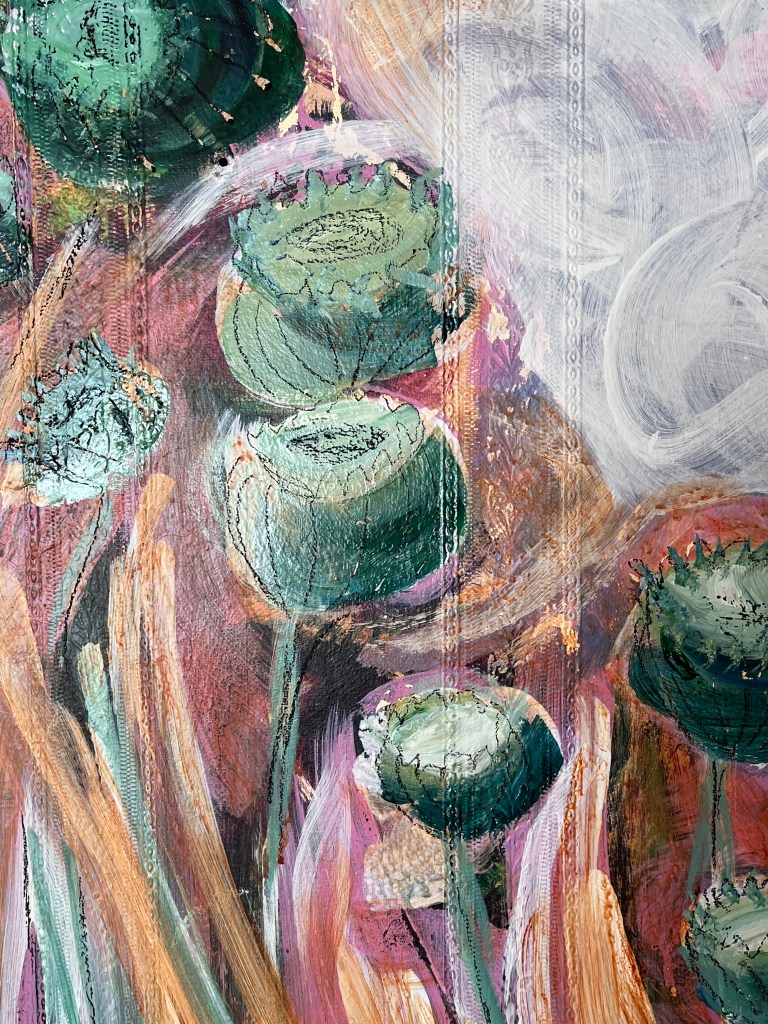
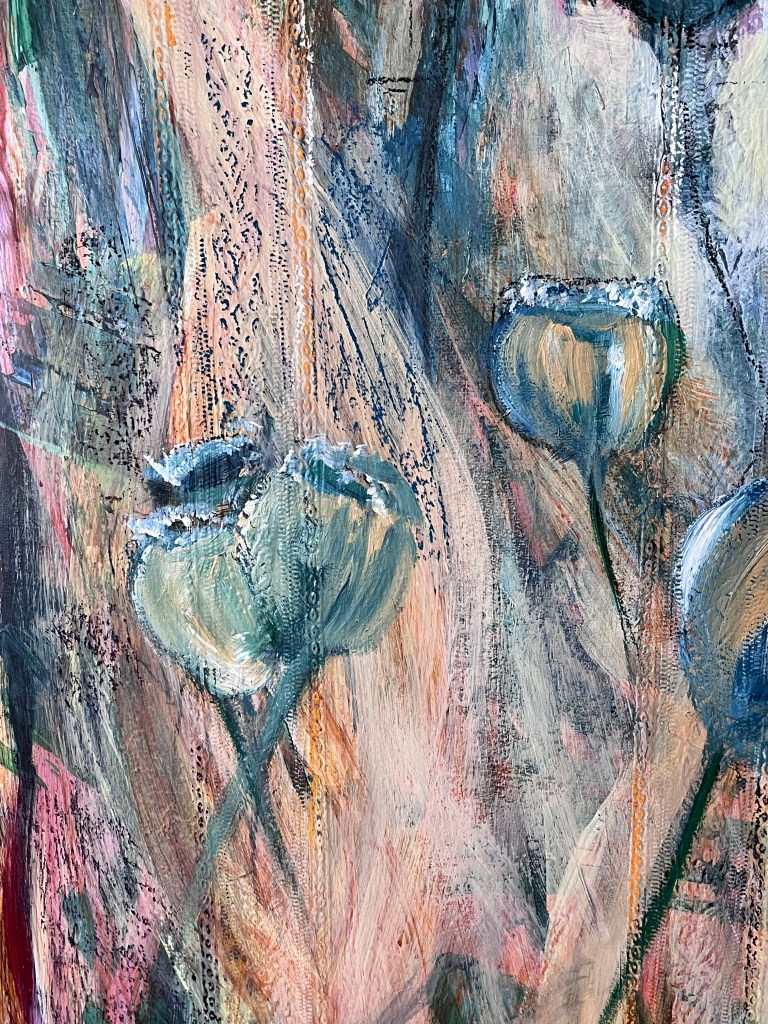
This was after lunch when carefully picked out poppy seed heads, then added temporary detail with charcoal, and finally went berserk with a pebble. It’s quite shiny, which doesn’t help show it off to its best, but it’s just possible its best was about three hours earlier. I think there are some decent ‘moments’ in there even if the rest has gone a little off piste. Still, a change of light might make a difference, as will later lamp light, and tomorrow is another (editing) day.
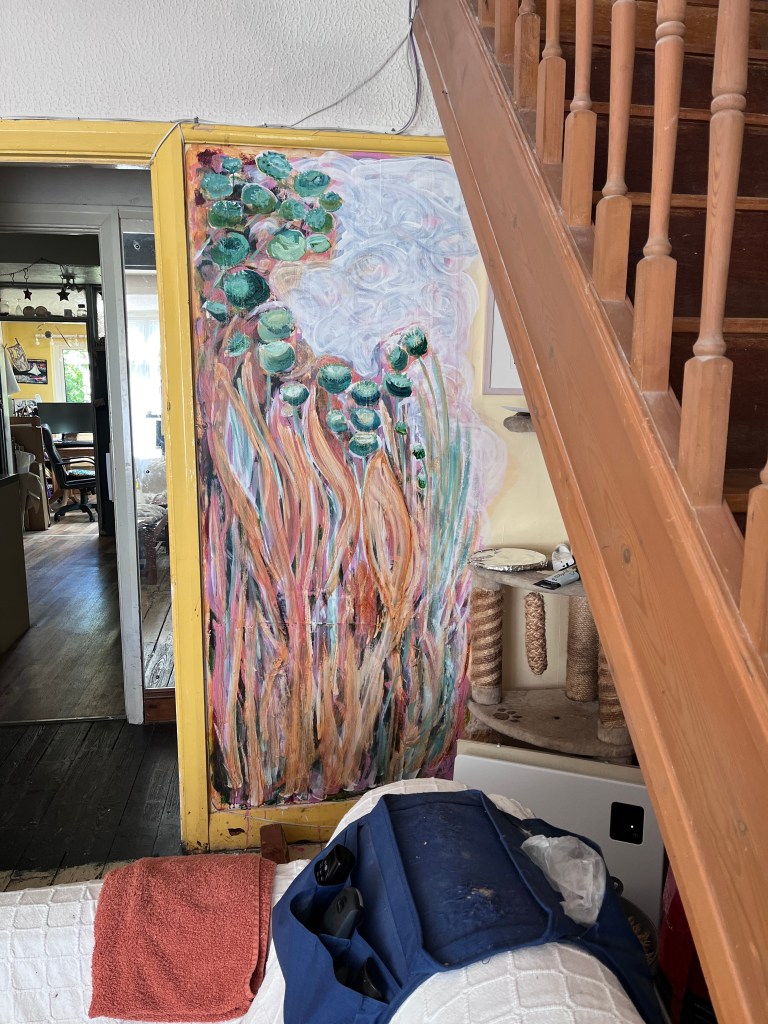

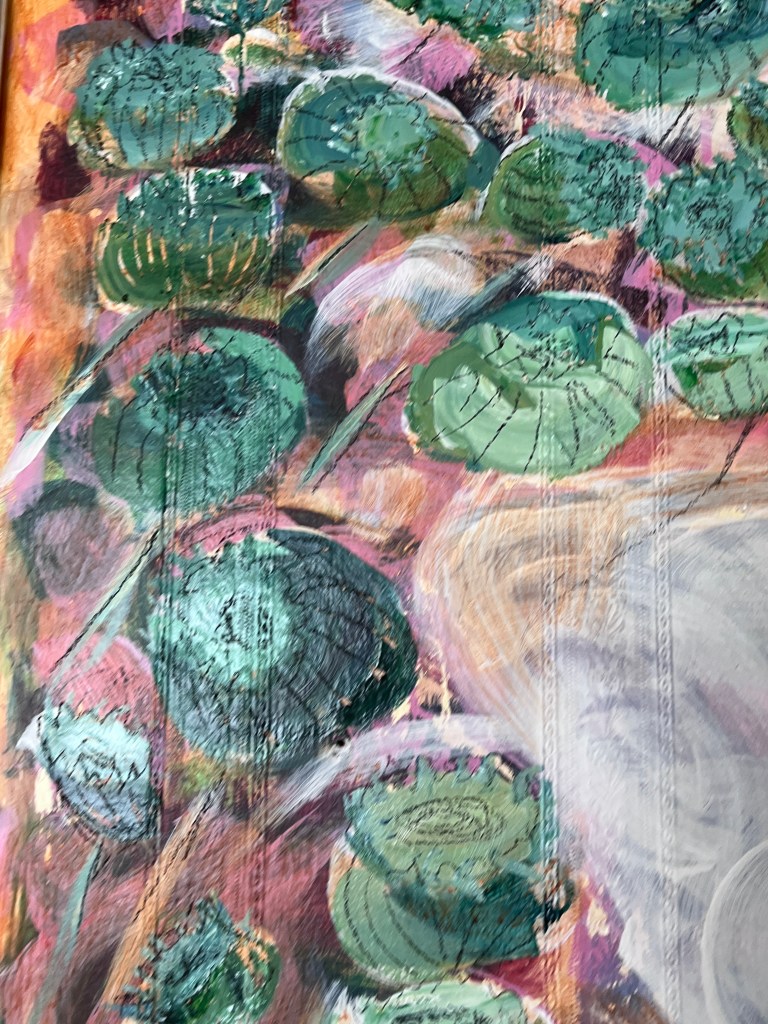


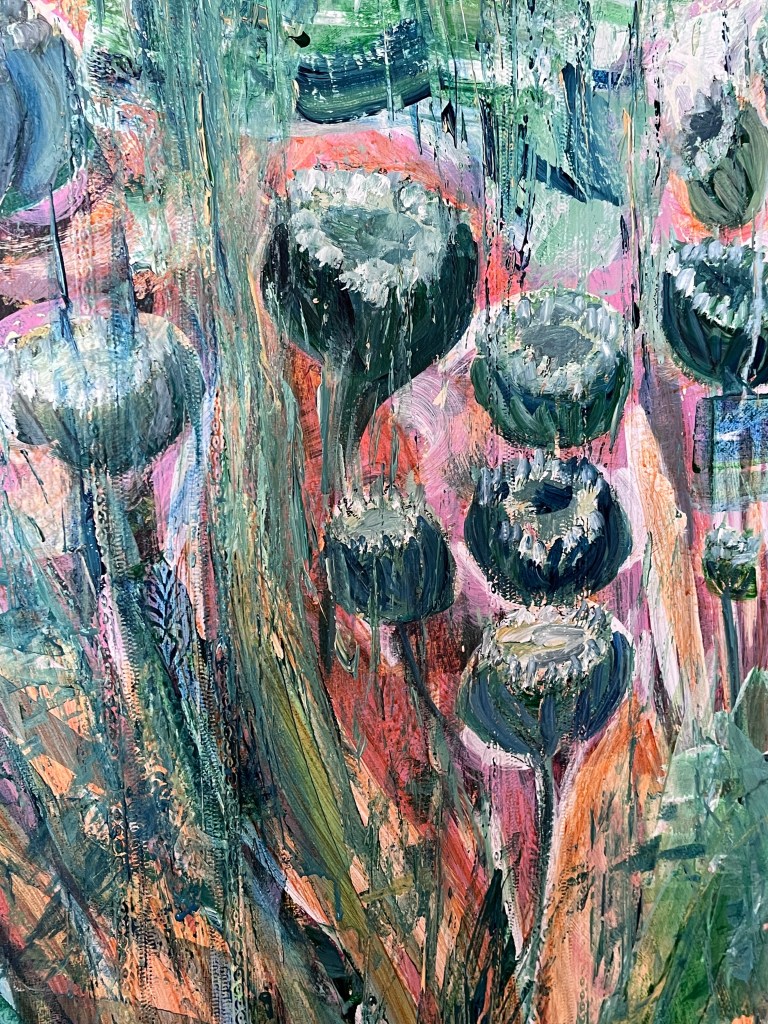


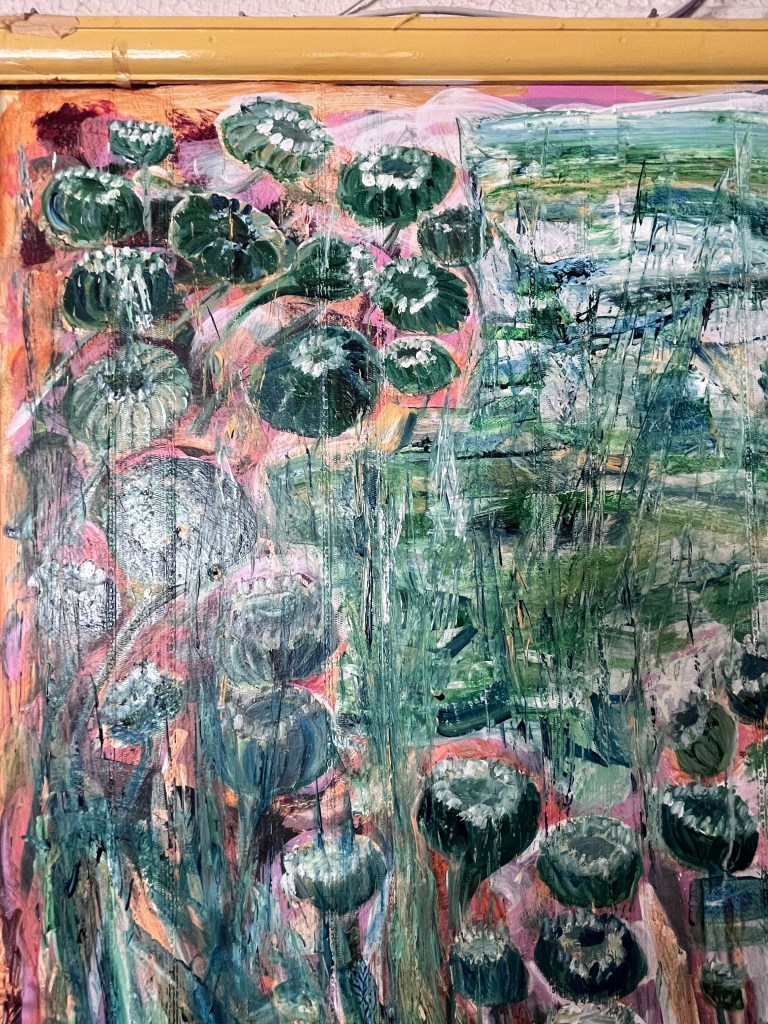
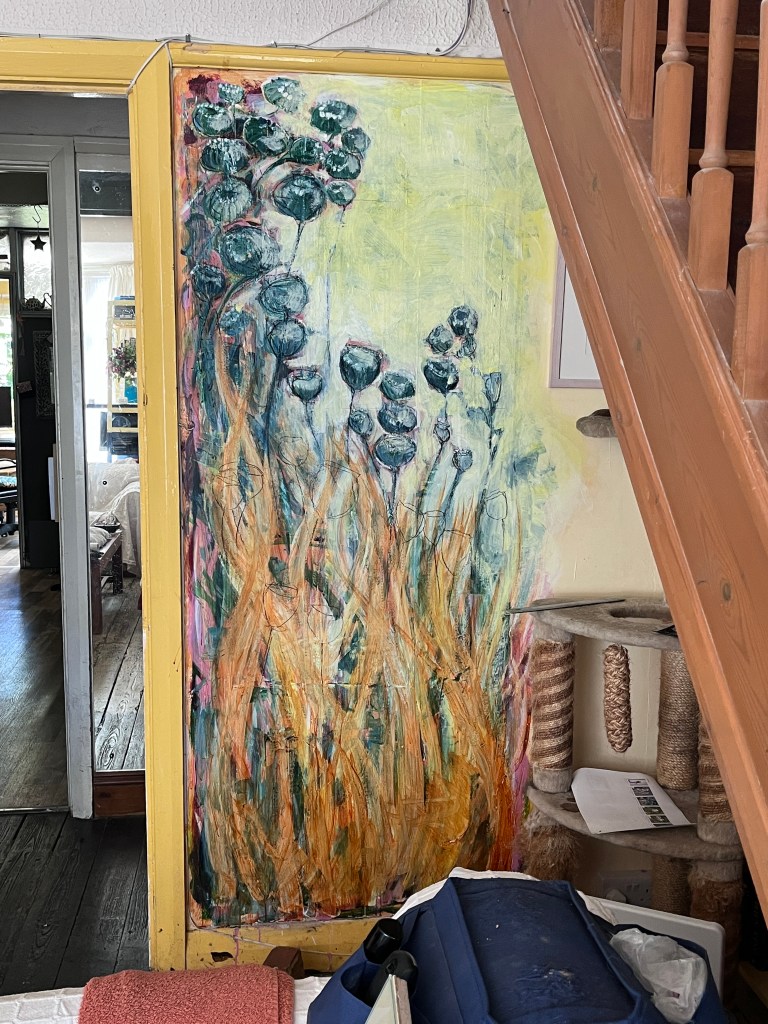
15th July. Realised that the reason it stopped abruptly on the right was because I’m too close to it to see that it’s surrounded by yellow and isn’t blending into that. So now it has a ‘sun lit’ layer and I’ve lightened up some of the lower foliage too.


The next step will be to add back some (more!) colour to the lower foliage, without depressing the overall feel. That early composition, seen out of the corner of my eye in lamp light, was quite alarming!
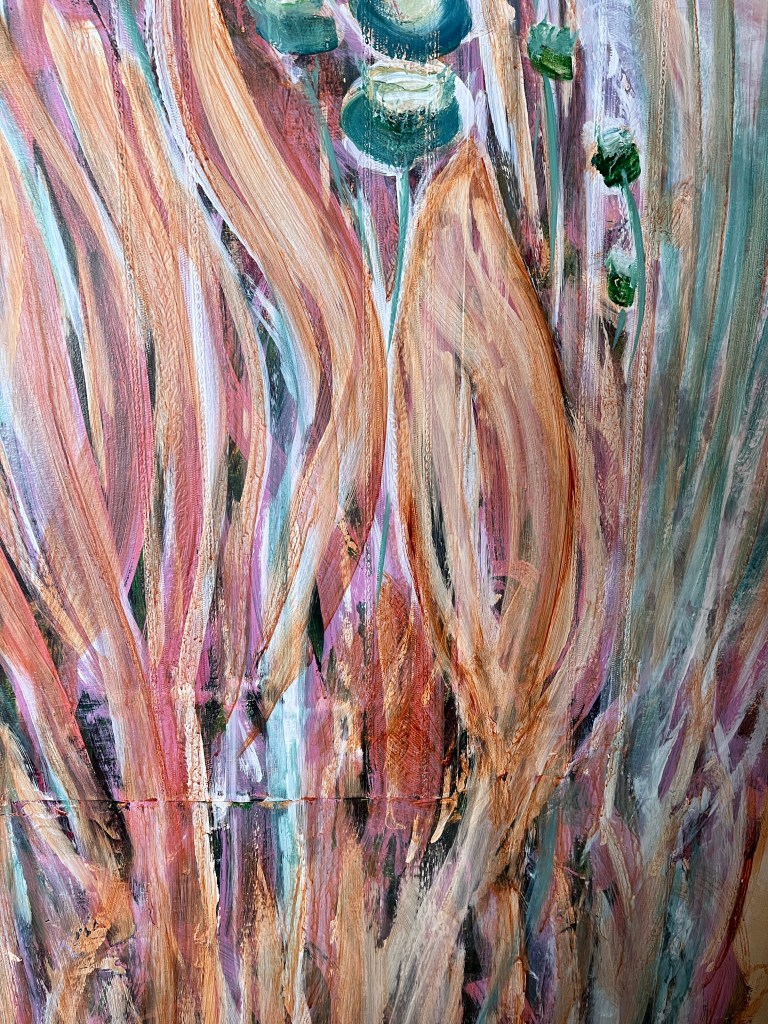
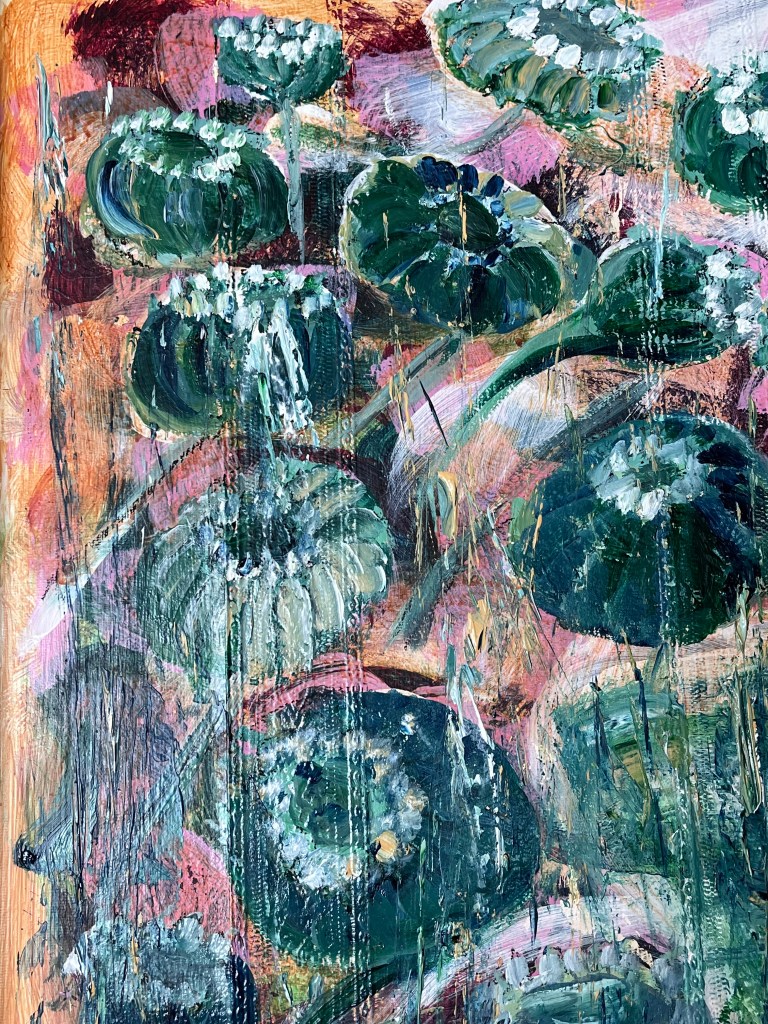
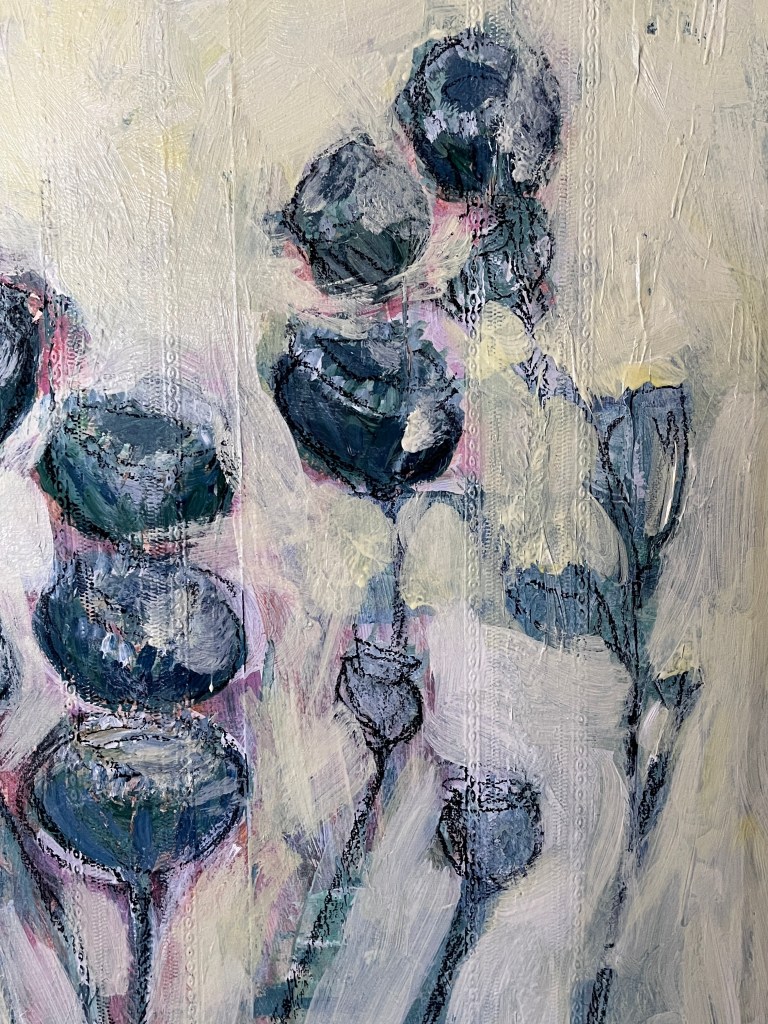
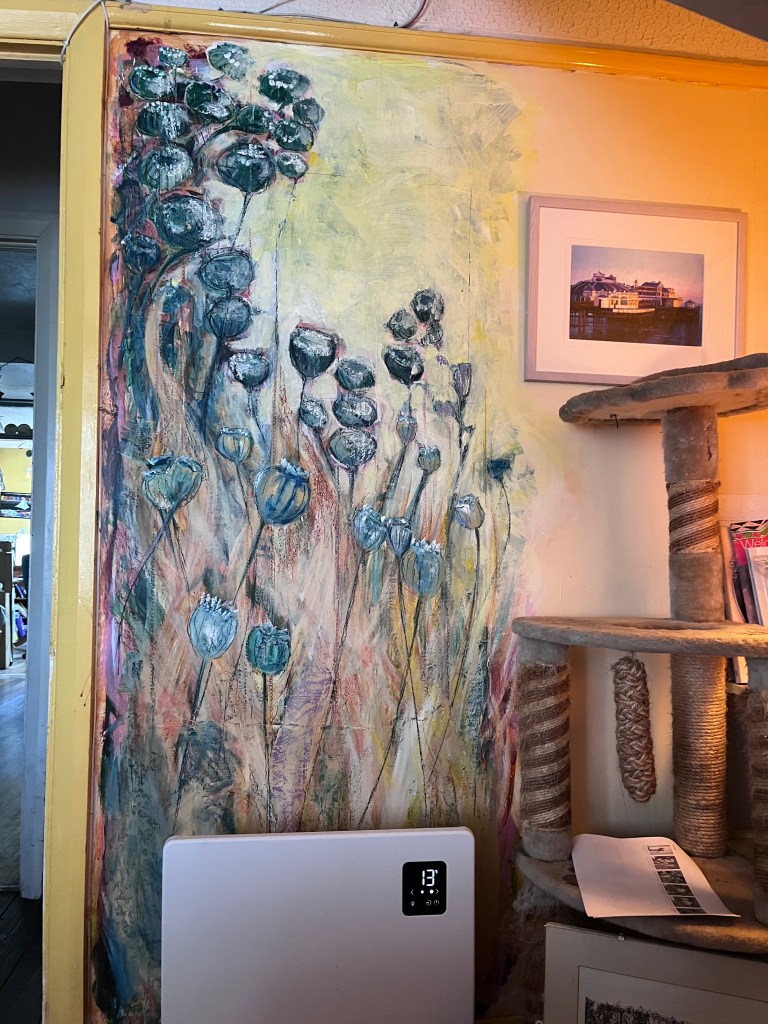
So now I’ve roughly drawn in the space where my sister’s print has come from and will return to, and I can see that quite a lot of the lower seed heads and foliage will be hidden. This means I can add some to the area below that and it won’t look over-crowded. It does look vaguely on fire though, which is fitting given the current heatwave.

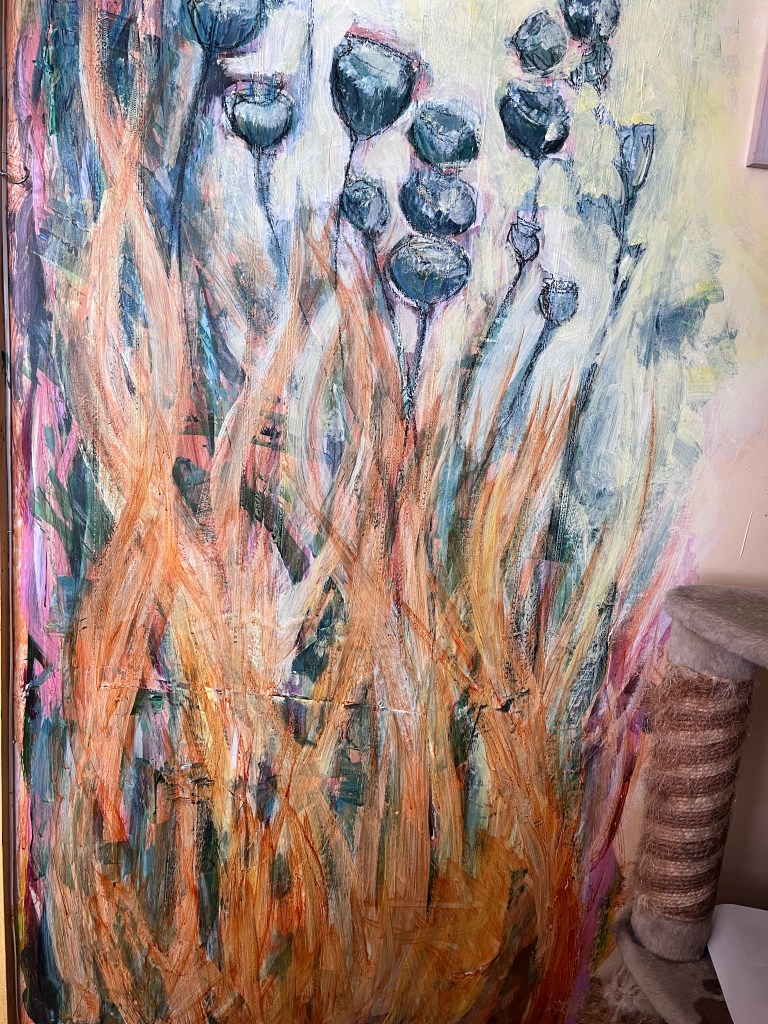
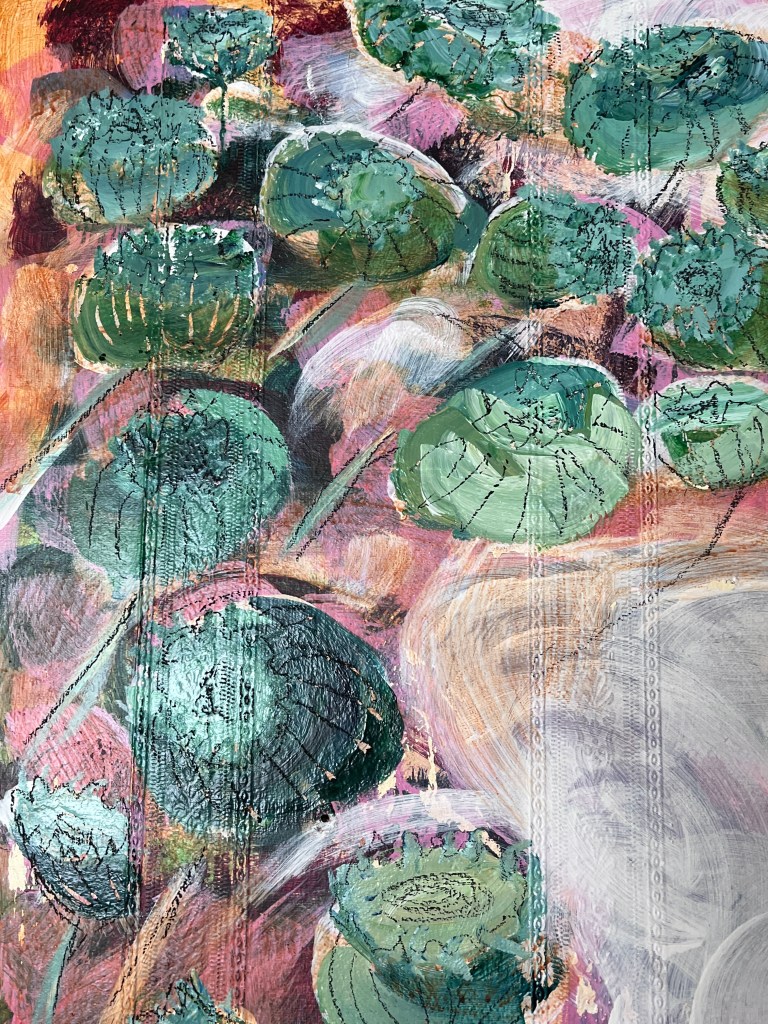
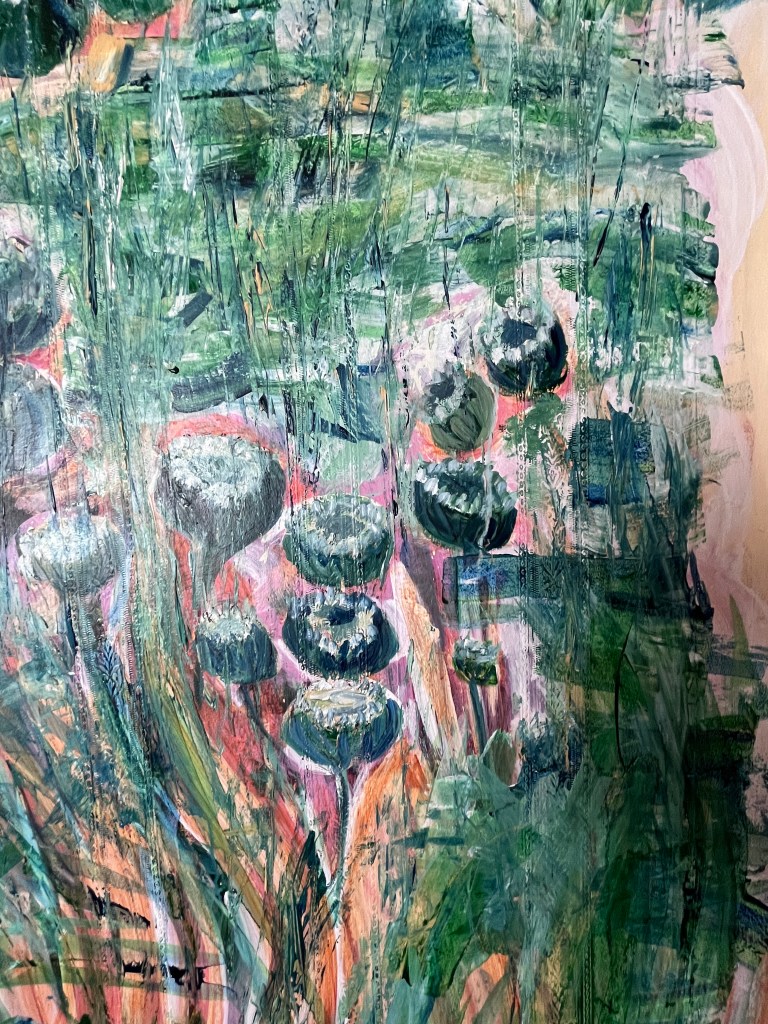
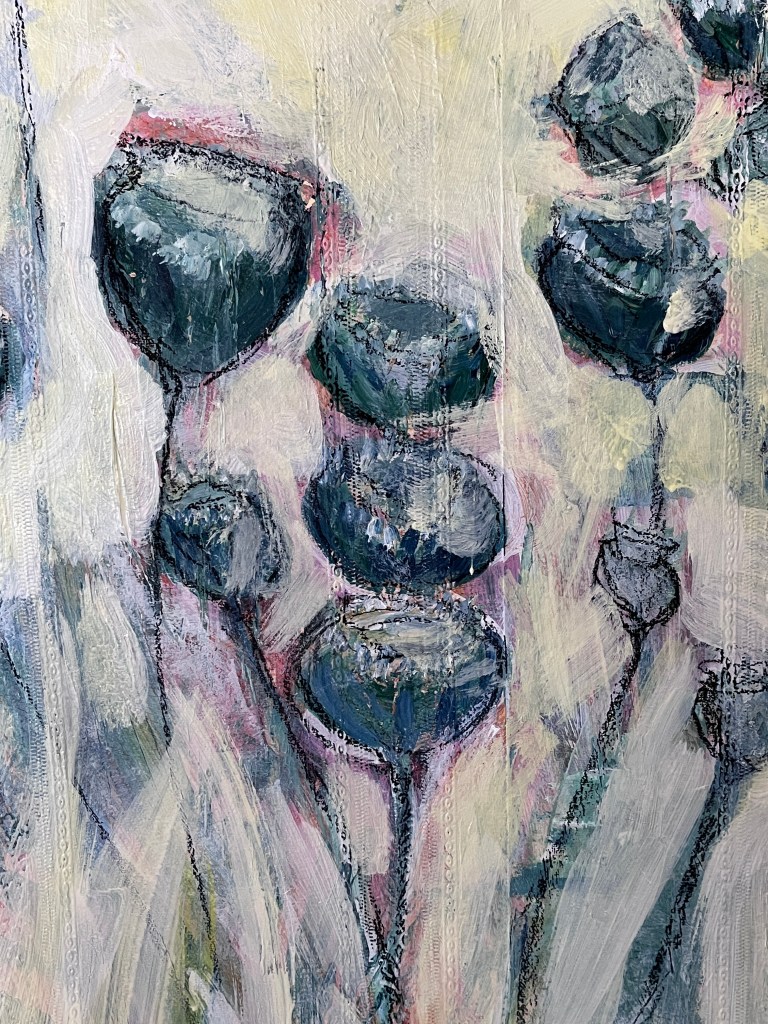
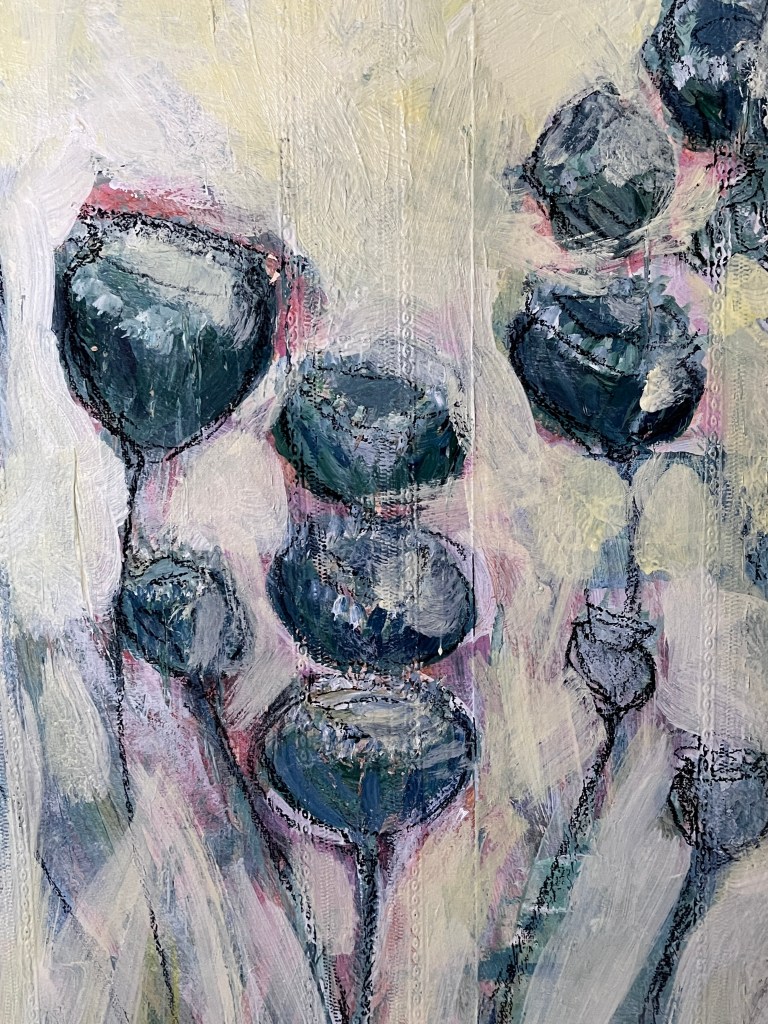
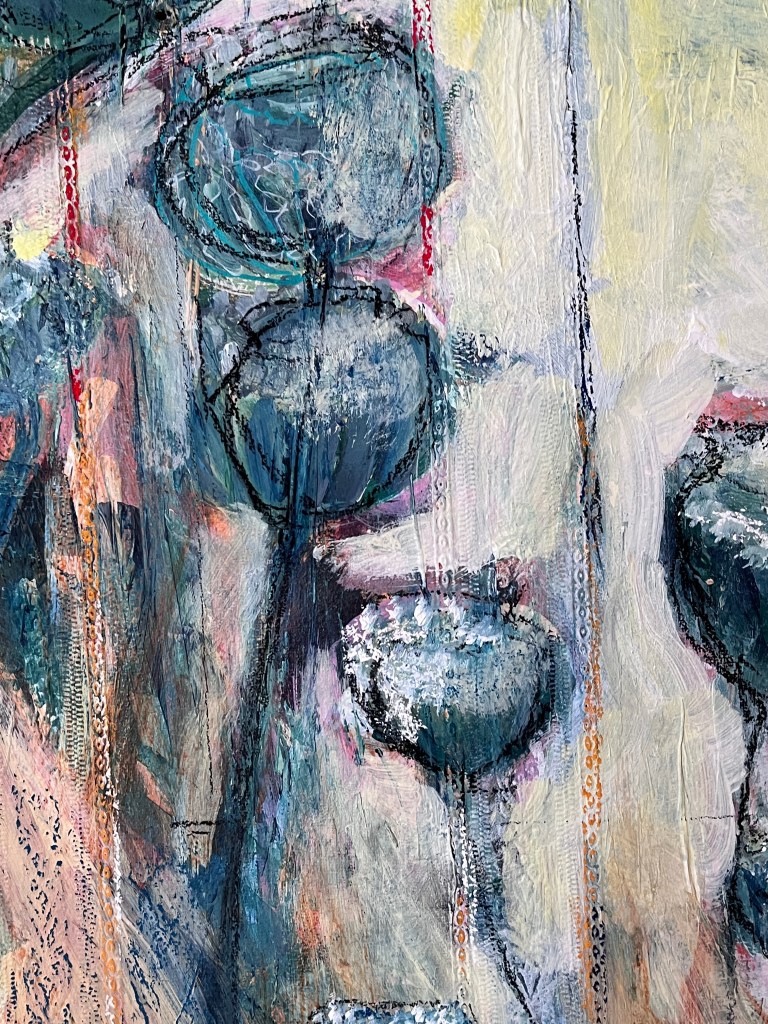
Now I’m using soft pastel and charcoal to pick out detail using the texture of the underlying wallpaper. There are some nice effects to be had from doing this and it helps foreground and background the appropriate elements without overloading the area with paint. I’m bearing in mind too that this needs to work in low light in the evenings so that little bit of definition both pulls lines forwards and also adds a more contemporary flavour to it. I’m waiting now for the painted areas to dry so I can attack them with a flannel and let loose with the pastels. I use Pebeo matt picture varnish to seal pastels, often before I use a layer of brushed-on sealant. I see it’s for oil colours but it works well with chalky material and I hadn’t noticed that till just now.


Tonight it gets its low light test. I’m crossing my fingers it doesn’t want anything new because Daylight Twin seems quite happy now and ready for its radiator which, for now, is sitting up on bricks so it doesn’t choke itself. The print, which I’ll probably have re-mounted due the almighty weight of it (that was 1980 for you), will take up much of the yellow area and some of the vegetation up towards the top.
Post radiator and print home-coming photos to follow.
